Tinting your eyebrows at home can enhance your facial features, making your brows look fuller and more defined without daily makeup. This guide will take you through each step, helping you achieve professional-quality results with ease.
Why Tint Your Eyebrows?
Eyebrow tinting is an excellent solution for those who want to:
- Darken light or sparse eyebrows.
- Save time on daily eyebrow makeup.
- Enhance their natural brow shape.
- Achieve a polished look without microblading or permanent makeup.
The results typically last 2-6 weeks, depending on your hair type, tint quality, and aftercare routine.
What You’ll Need
Before you start, gather these essentials:
- Eyebrow tinting kit (Choose a safe, high-quality product like RefectoCil or Godefroy.)
- Applicator brush or spoolie
- Petroleum jelly (To protect the surrounding skin.)
- Cotton swabs and pads
- Micellar water or makeup remover
- Timer or phone stopwatch
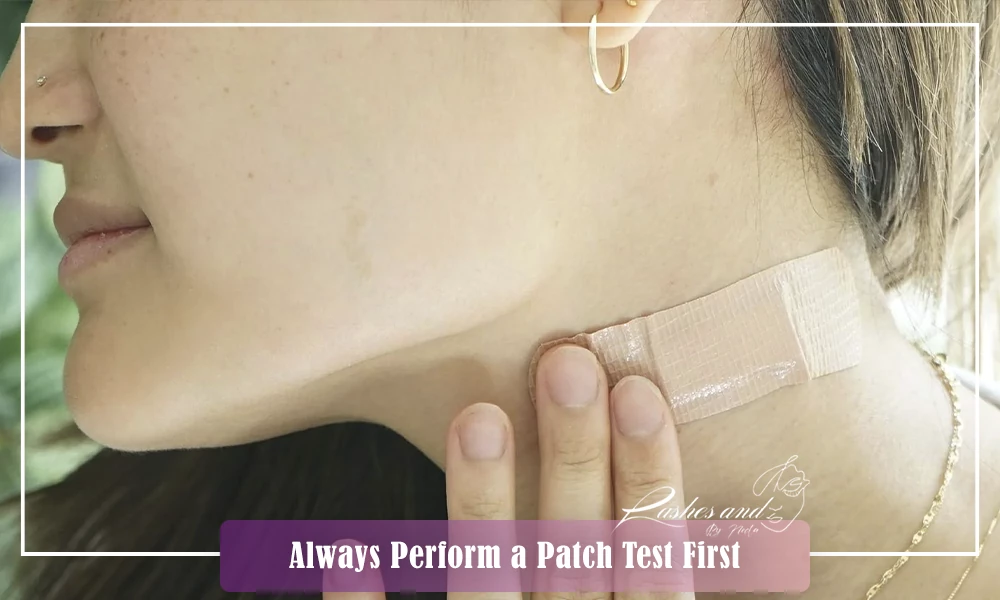
Step 1: Perform a Patch Test
To avoid allergic reactions, always do a patch test 48 hours before applying the tint.
- Apply a small amount of mixed tint on the inside of your wrist or behind your ear.
- Wait for 48 hours to check for any irritation, redness, or itching.
- If no reaction occurs, proceed with the application.
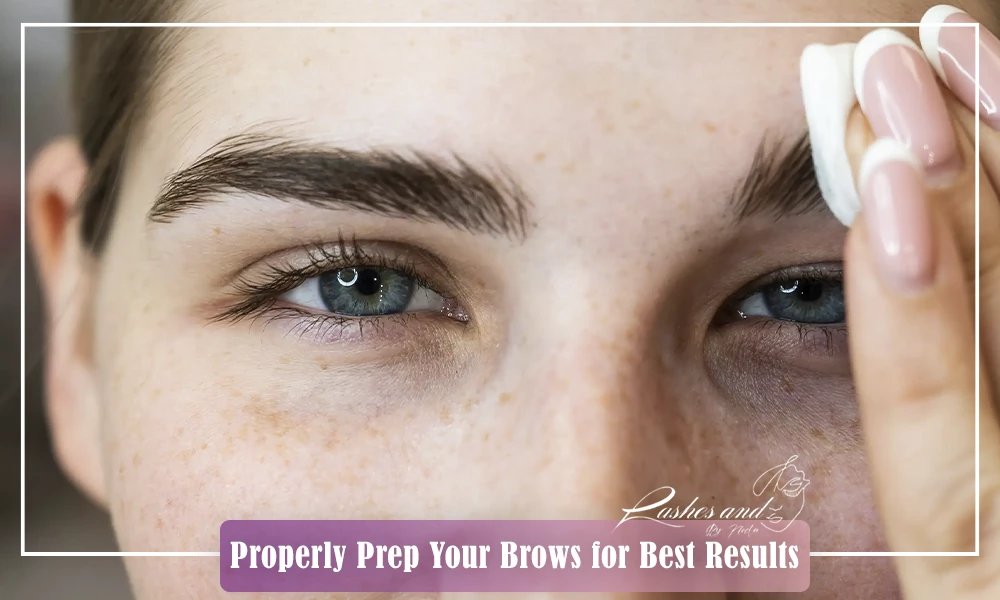
Step 2: Prep Your Brows
- Clean your brows: Wash your face thoroughly, removing makeup and natural oils.
- Shape your brows: Tweeze or trim excess hairs to achieve your desired shape.
- Apply petroleum jelly: Spread it around your brows to prevent skin staining.

Step 3: Mix the Tint
Follow the product’s instructions to create the correct mixture:
- Typically, you’ll mix the tint cream with a developer in a small dish.
- Stir until you get a smooth, lump-free consistency.
Pro Tip: Choose a shade that is one to two shades lighter than your hair color for a natural look.
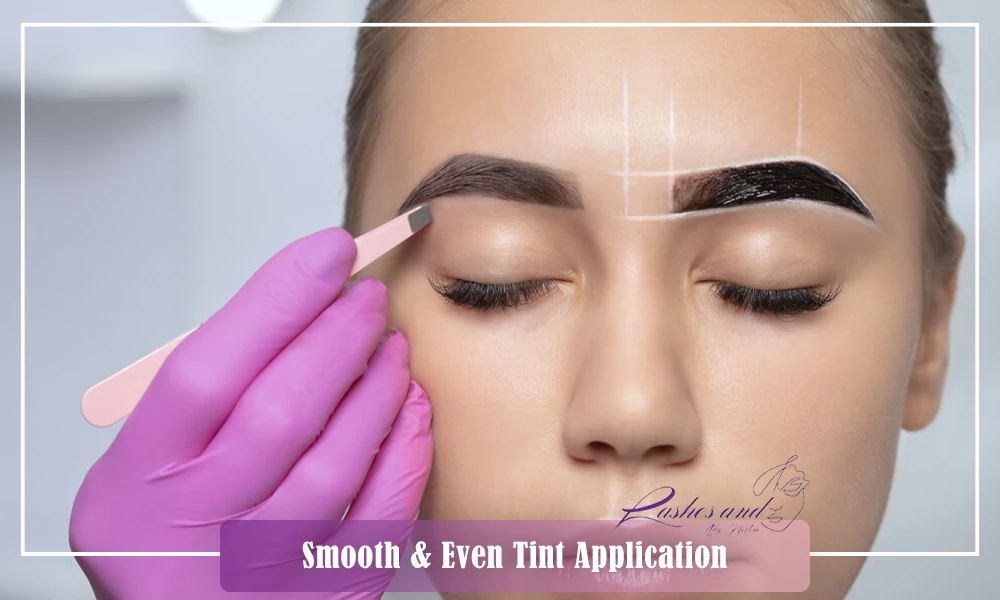
Step 4: Apply the Tint
- Start from the tail of your brows, moving towards the inner corners.
- Use an angled brush or spoolie for even application.
- Let the tint sit for 3-5 minutes, adjusting based on how dark you want the color.
- Clean the edges immediately with a cotton swab.
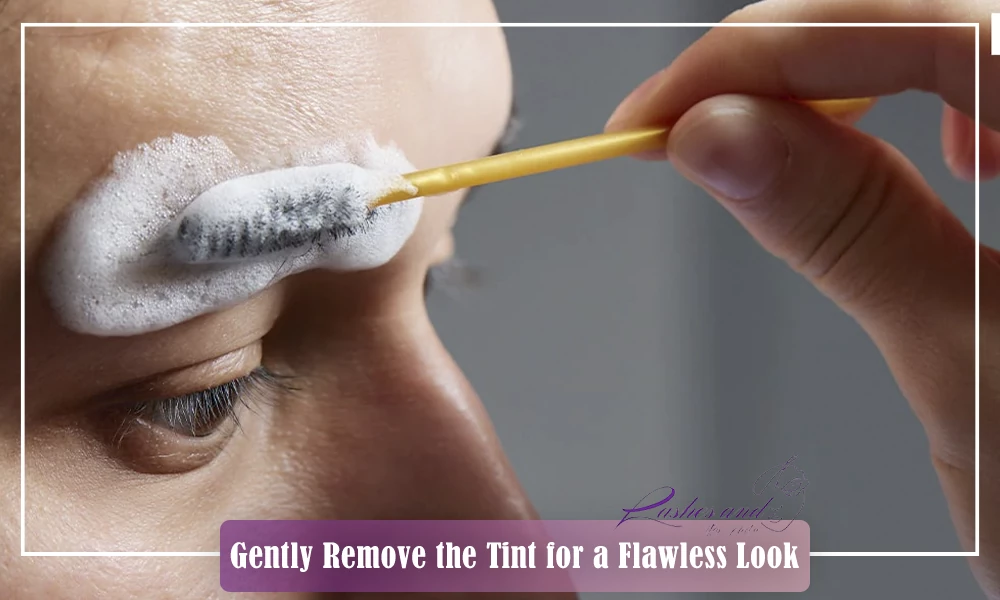
Step 5: Remove the Tint
- Use a damp cotton pad to gently wipe off the tint.
- Rinse with lukewarm water, avoiding harsh rubbing.
- Pat dry with a soft towel.
Pro Tip: If your brows turn out too dark, gently exfoliate them with a bit of micellar water and a cotton pad.
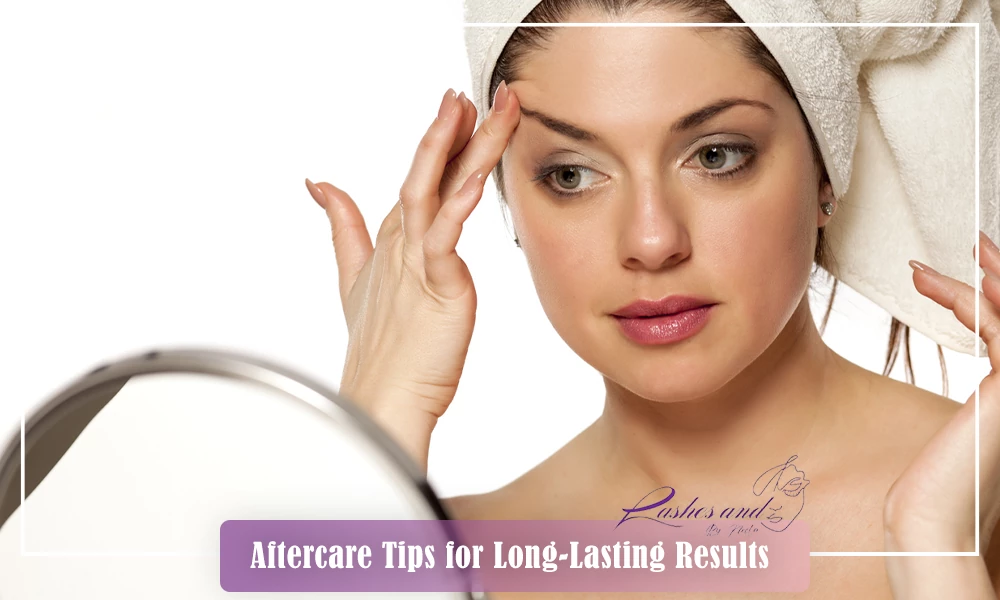 Step 6: Aftercare Tips
- Avoid water and makeup removers for the first 24 hours.
- Apply a brow conditioner or castor oil to keep hairs healthy.
- Minimize sun exposure, as UV rays can fade the tint faster.
- Avoid scrubbing your brows while washing your face.
Common Mistakes & How to Fix Them
❌ Overly dark brows? – Wipe with micellar water or wait a few days for fading. ❌ Uneven application? – Use an angled brush for better precision. ❌ Tinted skin? – Gently scrub with a makeup remover.
DIY vs. Professional Brow Tinting
| Feature | DIY Tinting | Professional Tinting |
|---|---|---|
| Cost | Low | Higher |
| Control Over Color | High | Medium |
| Risk of Mistakes | Medium | Low |
| Longevity | 2-4 Weeks | 4-6 Weeks |
If you’re new to brow tinting, start with DIY, but for long-lasting and precise results, consider visiting a professional.
Best Eyebrow Tinting Kits
- RefectoCil Eyebrow Tint – Long-lasting and professional quality.
- Godefroy Instant Eyebrow Tint – Great for beginners.
- Eylure Dybrow Kit – Affordable and easy to use.
Conclusion
Tinting your eyebrows at home is an easy and cost-effective way to enhance your look. By following these step-by-step instructions and avoiding common mistakes, you’ll achieve salon-quality results effortlessly.
Have you tried eyebrow tinting at home? Share your experience in the comments! ?